Tutorial: Windows 7 Installation
This Tutorial is for the Downloading and Installation of Buddi on a Windows 7 computer. Please follow these Step-By-Step Instructions. Many thanks to Michael Enright for creating this tutorial.
- The first thing you have to do is download the Buddi Installation File. To do this:
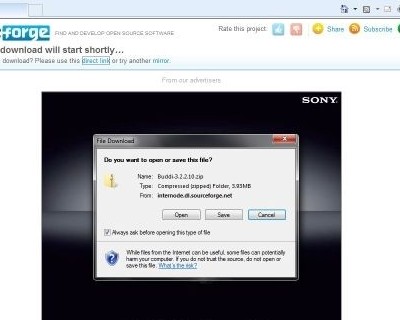
- Download the Buddi installer file from here. Your web browser will ask you whether you want to save or open the file. Click on "Save".
-
On the next screen, Click on "Desktop" and then Click on the "Save Button".

- Download the Buddi installer file from here. Your web browser will ask you whether you want to save or open the file. Click on "Save".
-
The next thing you have to do is to extract all the files from this downloaded file. Once the file has completed downloading to your desktop, you need to:
-
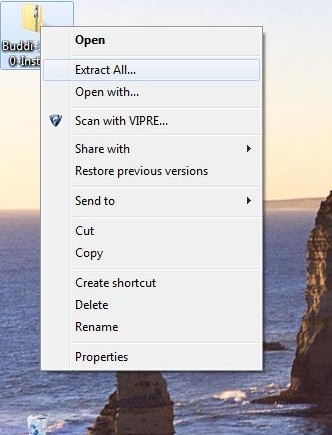
Right click on the file you just downloaded, and Click "Extract All".
-
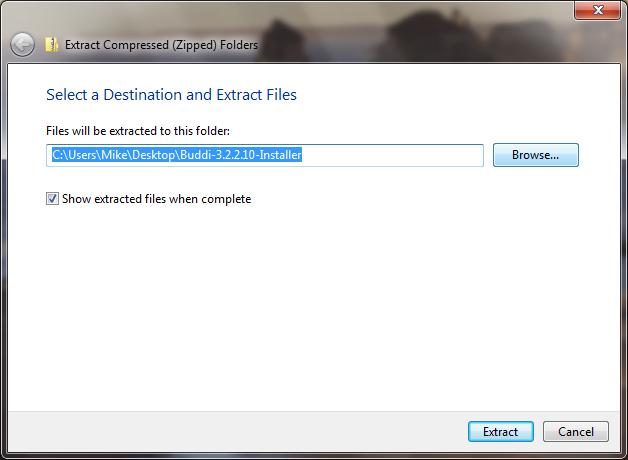
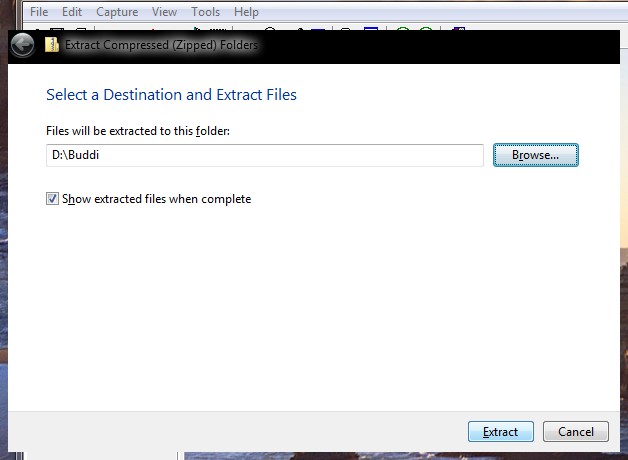
On the next screen, make sure that "Show extracted files when complete" is Ticked, Then Click "Browse".
-
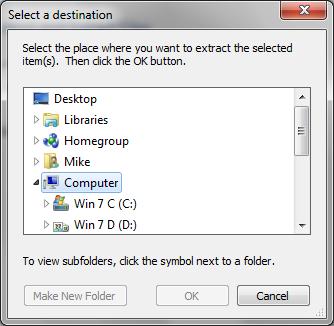
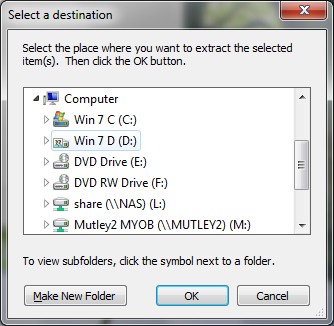
Double Click "Computer"
-
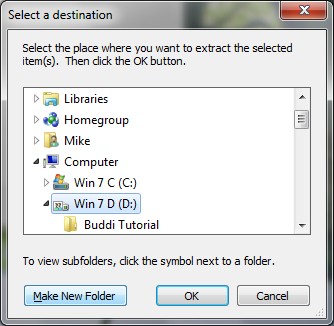
Double Click The Drive where you would like the files to be extracted to. [This will preferably be one other than the C drive (if you have one)]. If not Double Click the C Drive.
-
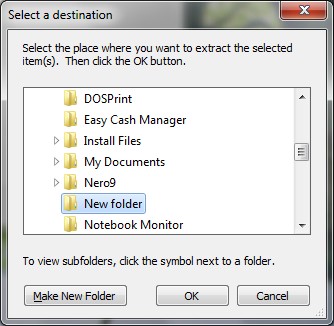
Click "Make New Folder"
-
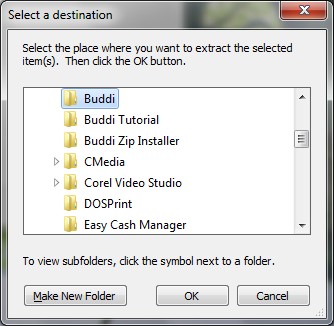
Type in "Buddi" (Without the quotes) and Click "OK"
-
Then finally, Click on "Extract"
-
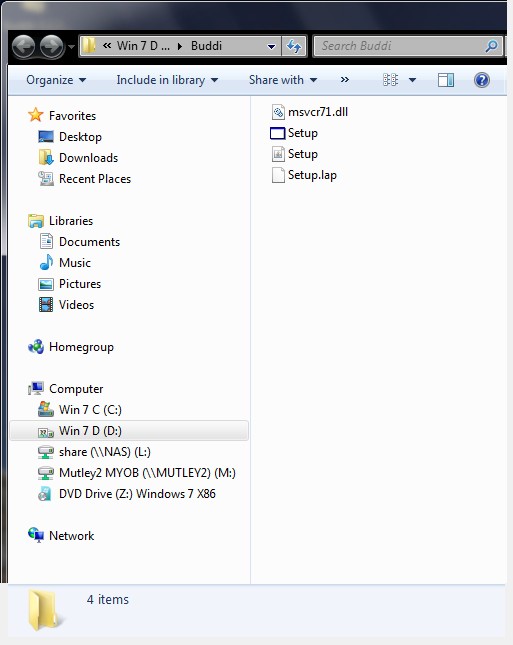
Leave the final Window open, as we will need this in the next step for Installing Buddi.
-
Right click on the file you just downloaded, and Click "Extract All".
-
Now we have to install Buddi. To do this;
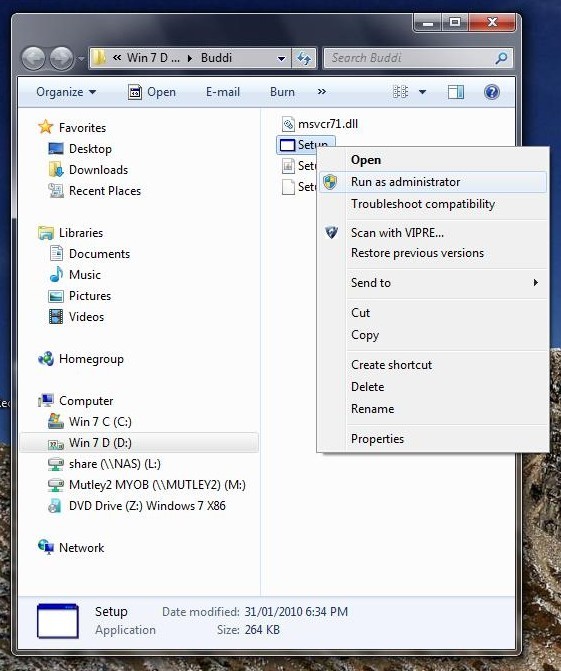
- Right Click the File, "Setup.exe" in the Open Window, (The first Setup File) and Click "Run as administrator".
- You will get a pop up message from Windows User Account Control. Just Click "Yes".
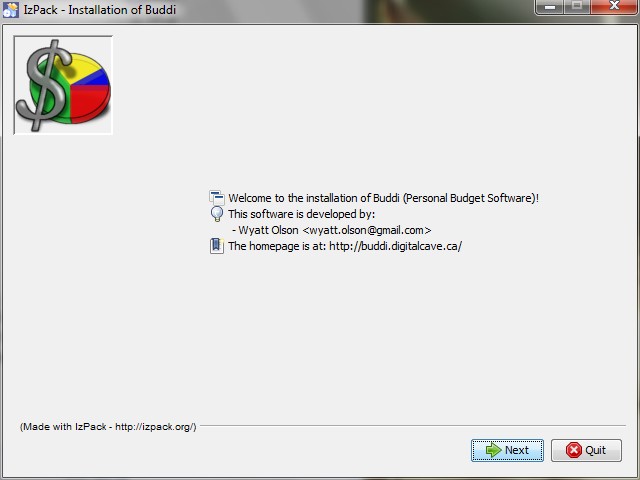
- You will then see the Buddi Installation Welcome Screen. Click "Next"
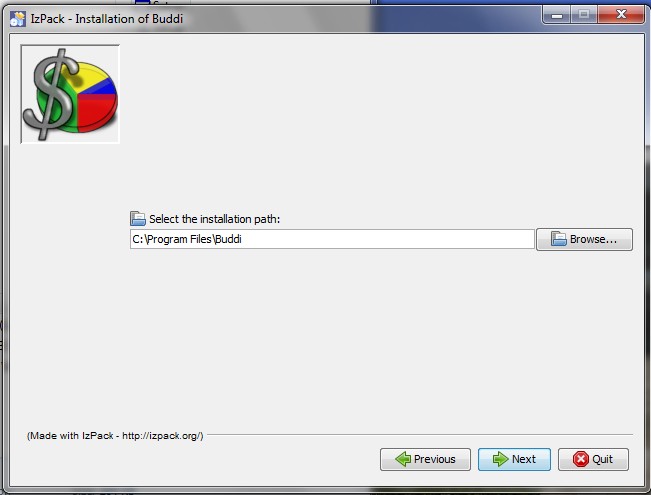
- The next screen is for where you would like Buddi to be installed. Take the default path and just click "Next"
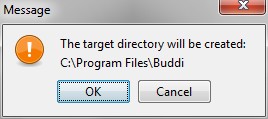
- Next you will see one of two Windows, depending on if you are Installing Buddi for the First time, or Installing over an already existing Buddi Program. If you are installing Buddi for the first time, Click "OK", or Click "Yes" if you are Installing over your current version.

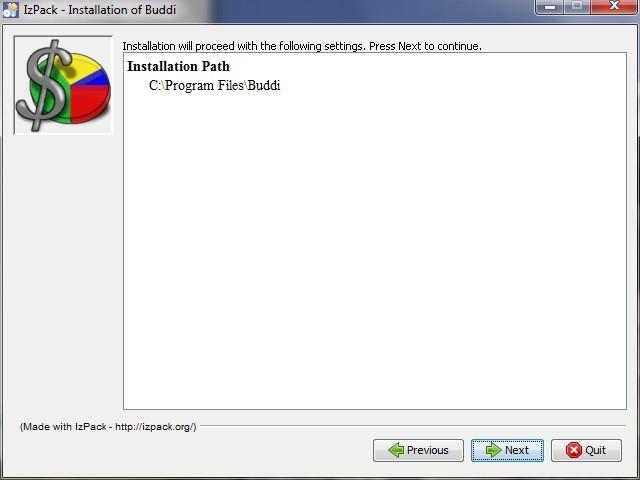
- At the next Window, Click "Next".
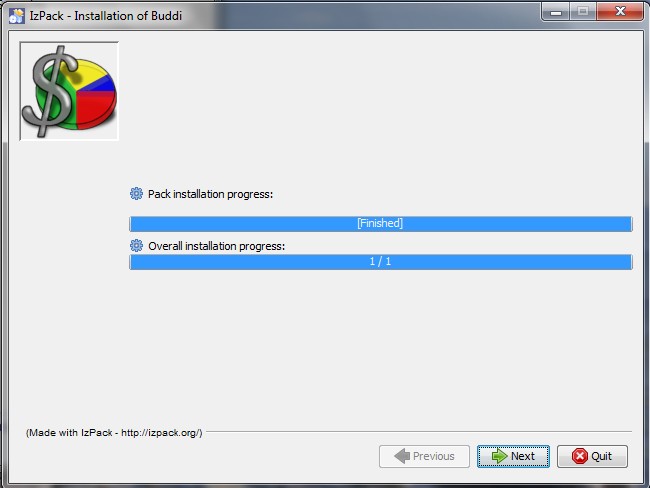
- Then Click "Next" again.
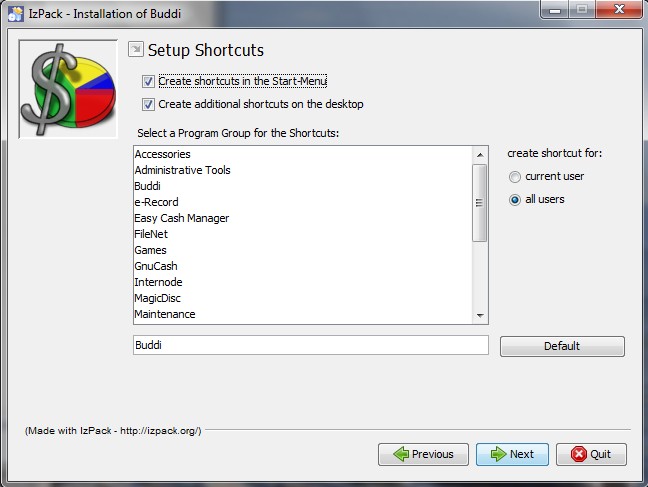
- The next screen is the Setup Shortcuts screen. Take the defaults (Unless you do not want a Desktop Shortcut. In which case, simply untick "Create additional shortcuts on the desktop"), then Click "Next"
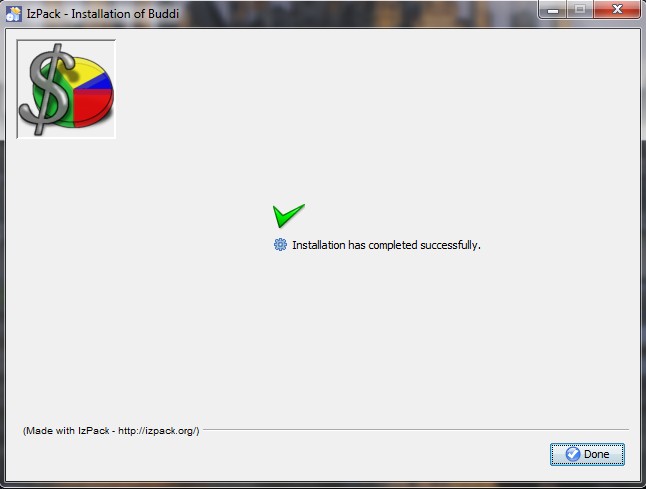
- That's it! Just Click "Done".
- Right Click the File, "Setup.exe" in the Open Window, (The first Setup File) and Click "Run as administrator".
- The only thing left to do now, is to Drag the Desktop Buddi Icon, if you created one, from the Desktop to the Taskbar and "Pin to Taskbar" if you want. If you do, you will have to delete the Desktop Icon after this step, by simply dragging it to the "Recycle Bin"
ENJOY!