Tutorial: Scheduled Transactions
Scheduled Transactions allow you to define repeating transactions which Buddi automatically inserts at the correct times. Some of the uses of this include bill payments, automatic savings, etc.
To define scheduled transactions, use the Edit menu in the main Buddi window, and select "Edit Scheduled Transactions".
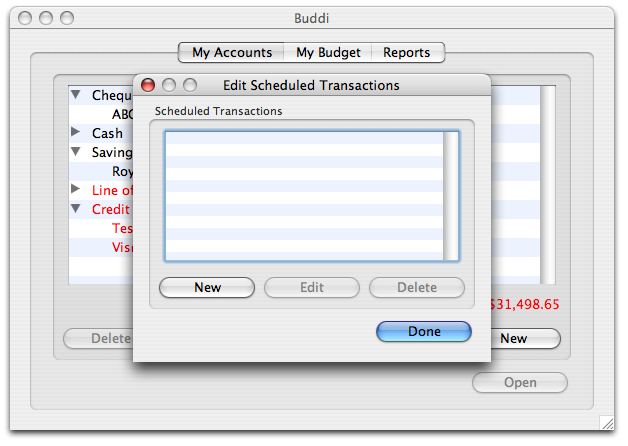
A screen showing all currently defined scheduled transactions will appear. Since you probably don't have any defined yet, you can create a new one by clicking "New":

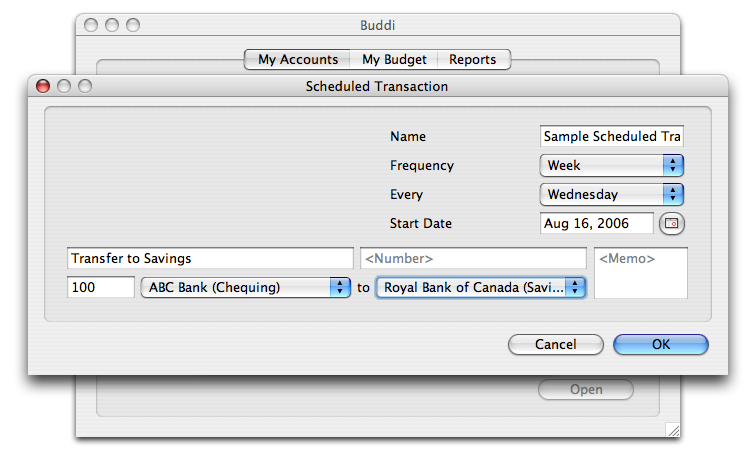
The Edit Scheduled Transaction window now will appear. This gives you the chance to define a name, frequency pattern, schedule, and start date for your scheduled transaction. The actual transaction details (Description, Amount, Memo, etc) are the same as you would see in the normal Transactions window.

One thing to note is that if you change the default start date, when you hit OK Buddi will fill in all the transactions that would have taken place between today and the start date. This is a powerful feature, but use it wisely. There is no way to automatically undo this operation, and each transaction must be deleted manually if you realize that you made a mistake.
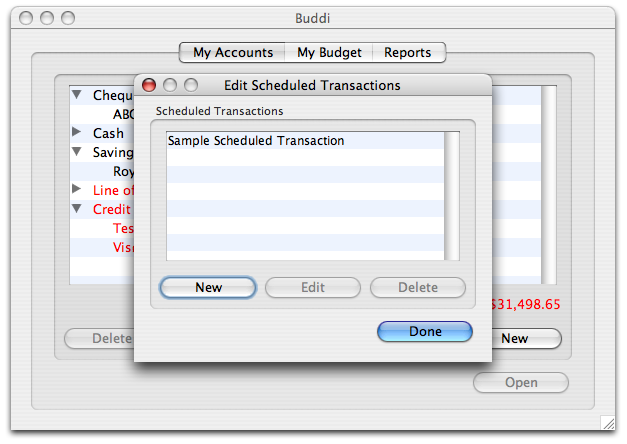
Once you have completed the transaction, it will show up in the Scheduled Transactions list. You can now create more, or edit / delete existing ones.

To avoid creating duplicate transactions, you cannot change the start date or schedule period of Scheduled Transactions. You can, however, change the name or any of the transaction details. Note that these changes only apply to transactions created after the change was made - Buddi does not retroactively change transactions.